LabRPF1 - Forms and Reports in Access
Northeastern University, CCIS, CSU101 Fall 2008 - Prof Futrelle
This describes a lab for Futrell's section that replaces Lab6 - It is due the end of Tuesdy, 11/18
The database we will use for this lab can be downloaded from this location: The Access Time and billing database
The previous page briefly described forms and reports in Access. In this lab, you will design simple forms and reports based on the Time and billing database. Because some of the steps you need to take can be difficult to figure out, I will give you some guidance using descriptions and screenshots.
A useful tutorial, mentioned on the previous page is,
Access Tutorial: Form Basics in Access 2007 (page 1 of 12)
In all of this, you can always turn to Google or the Microsoft help pages. Sometimes, when I'm particularly puzzled, or just curious, I go to a bookstore, find a relevant book or two and skim a couple of relevant sections. Bookstores include, NU, the Pru, Borders downtown, or the Coop in Harvard Square.
Step 1:
Populate the database: Create two employees, four customers, and five projects. You only need to fill in values for the fields that will be displayed in the forms and reports. Make up whatever information you choose similar to my example screenshots, or more sober, if you prefer.
Step 2:
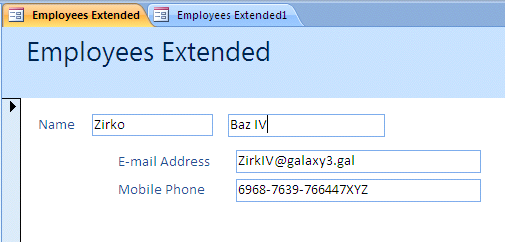
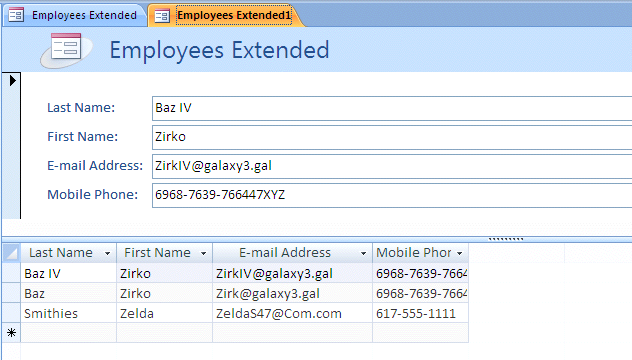
Create a form for employees: This can be done by selecting the employees table and then clicking Form button. This will give you all the fields, most of which you'll then delete in order to create a simple form. A simpler approach is to use the Form Wizard, so you can choose the fields: Last Name, First Name, E-mail Address, and Mobile Phone. The Form Wizard is hiding under the More Forms pop-up in Create, Forms. (On the other hand, the Wizard for reports is in plain view. Go figure.) Choose any layout, e.g., columnar, style Access 2007. Move to Design View. But you won't be able to adjust anything. To loosen it up and allow you to adjust positions, you need to go to Arrange, Control layout, Remove. You can widen the form with the adjuster that shows up on the Detail bar.
Experiment with split view and add your two employee records. You can force them to update in both halves of the split view if you select Home, Refresh.
Below are two different Employee forms.
and
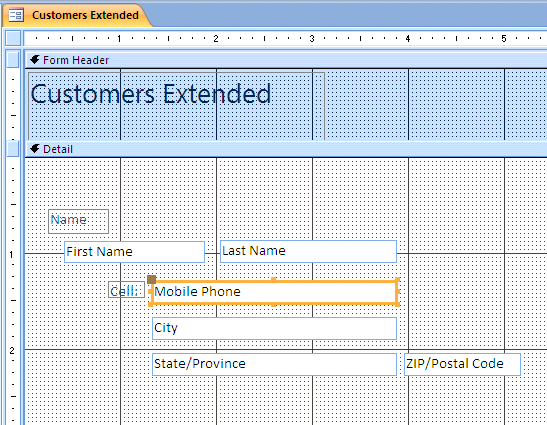
Step 3: Create a similar form for customers: Once you've done the above, it will be easy for you to do this, with first and last names, mobile phone, city, state, and zip code. Add data for four customers. Here's the design view for a customers form,
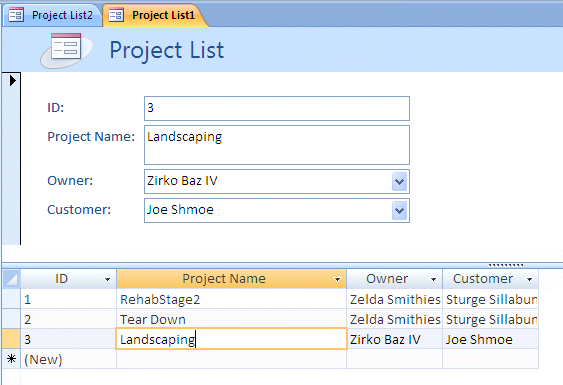
Step 4: Create reports for customers and projects: Creating reports parallels the creation of forms. You can use a Wizard, free up the report design so you can move items around, etc. Here is a project report in split view (actually a form view, but they're virtually indistinguishable at this stage):